Thinking about listing your Campbell townhome? You don’t need a full remodel to make a big impact. With a smart, budget-friendly staging plan, you can boost natural light, make spaces feel larger, and capture photos that stop buyers mid-scroll. In this guide, you’ll get a clear room-by-room checklist plus photo tips and a prep timeline designed for Campbell’s townhome layouts. Let’s dive in.
Why staging matters in Campbell
Campbell buyers often work in nearby tech hubs. They value move-in readiness, modern finishes, and flexible spaces for remote work. Townhomes here often have multi-level layouts and compact outdoor areas, so scale and flow are everything.
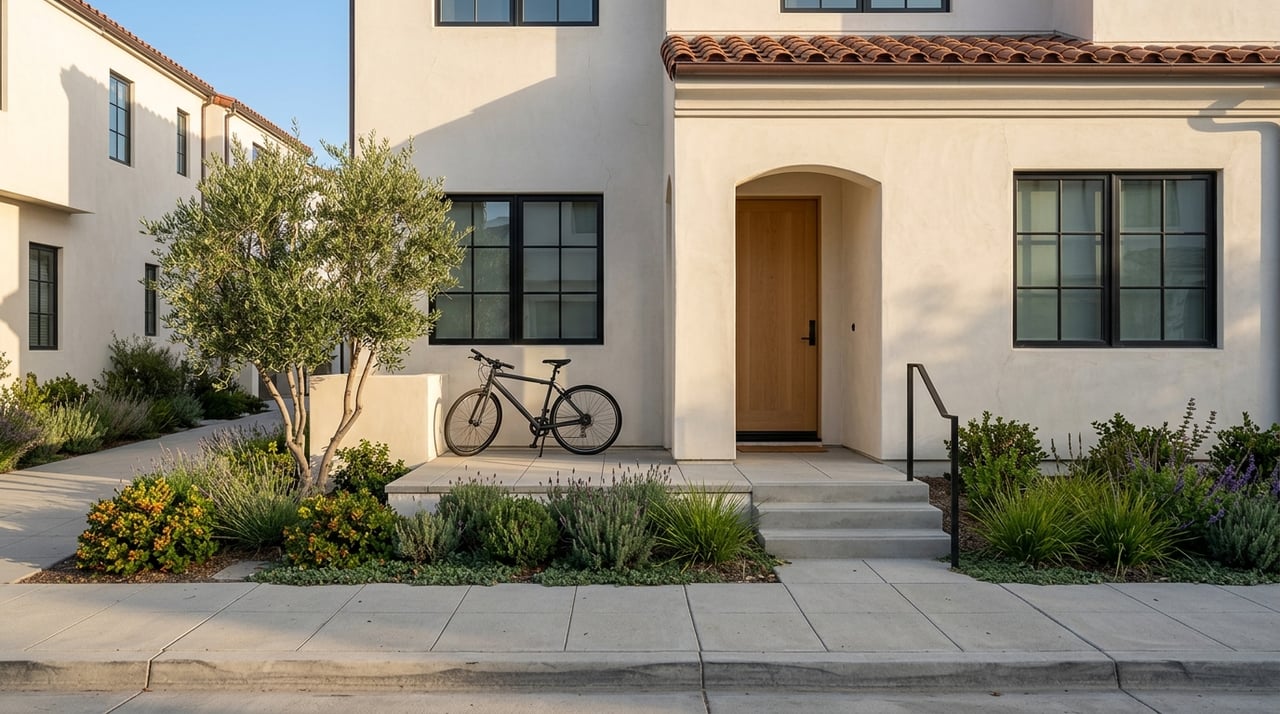
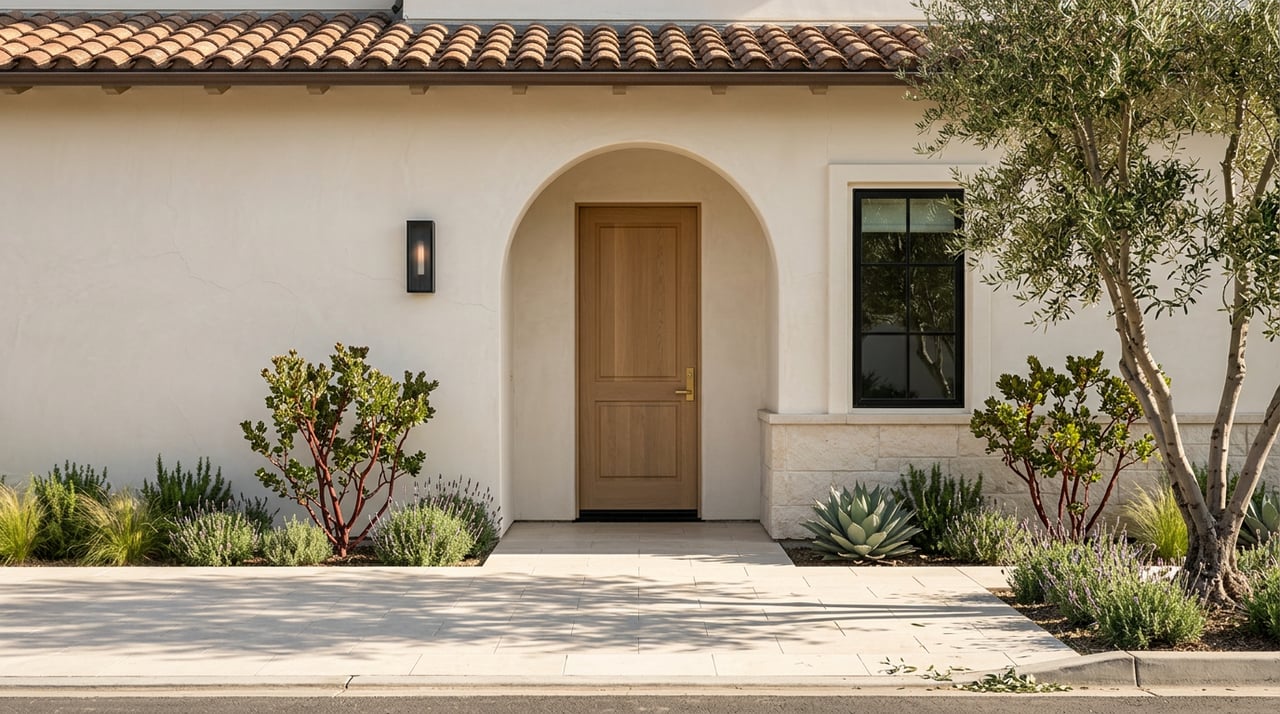
Campbell’s Mediterranean climate favors water-wise outdoor styling. Clean entries, potted plants, and simple seating help your outdoor photos shine without heavy upkeep. If your home is in an HOA, review CC&Rs for exterior updates, signage rules, parking, and showing policies before you make changes.
In a competitive Silicon Valley market, your online presence is your first showing. Small updates that photograph well can deliver outsized results, especially when paired with professional photos or well-planned smartphone shots.
Room-by-room staging plan
Entry and foyer
- Remove shoes, mail, and personal items so the arrival feels calm and clean.
- Add a mirror to reflect light if space allows.
- Style a slim console or bench with one plant and one catch-all bowl.
- Create a clear sightline to the main living area.
- Sweep the stoop and refresh the welcome mat.
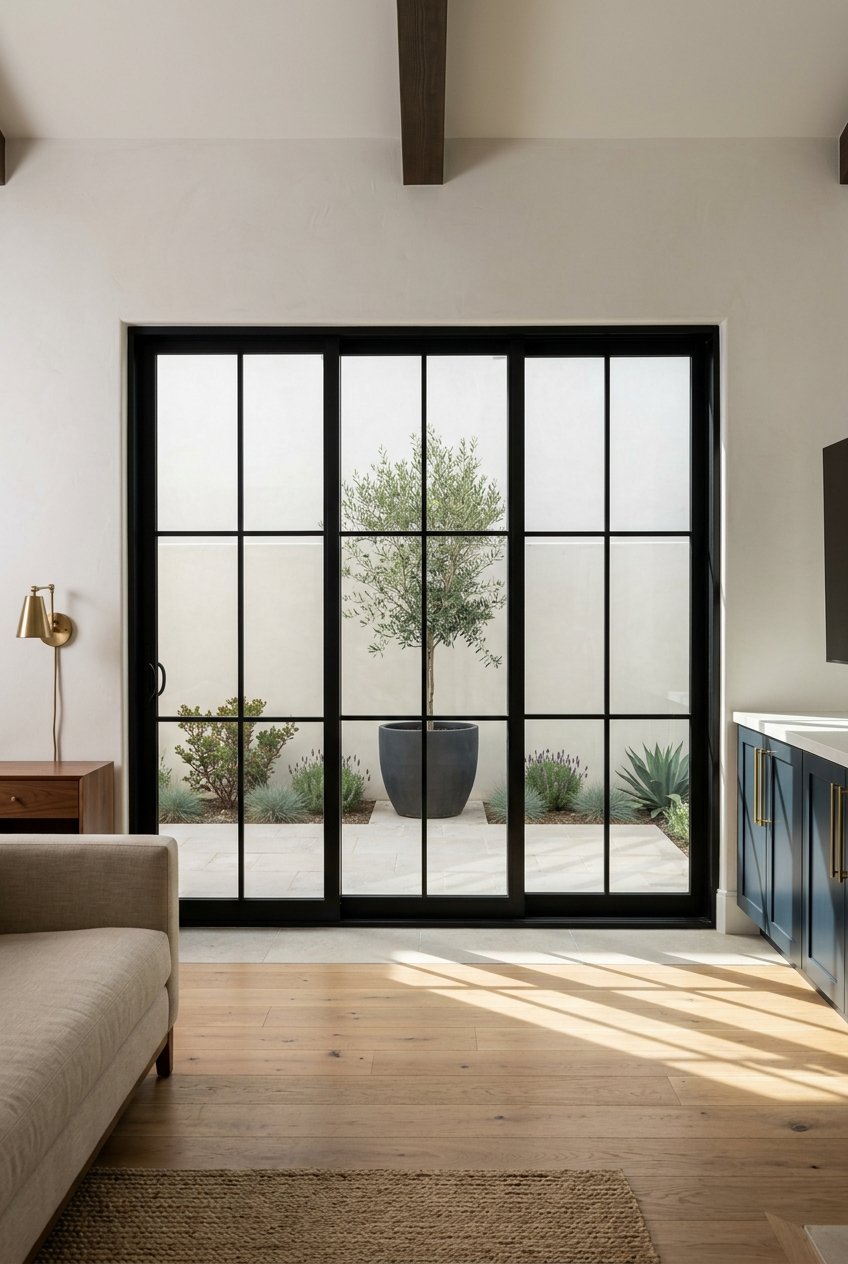
Living room
- Right-size furniture: one sofa plus one or two accent chairs.
- Pull pieces slightly off the walls to add depth and flow.
- Arrange seating around a focal point like a fireplace or view.
- Replace heavy drapes with light-filtering shades or sheers.
- Layer lighting with an overhead fixture, floor lamp, and table lamp.
- Use an area rug to define the conversation zone and anchor furniture.
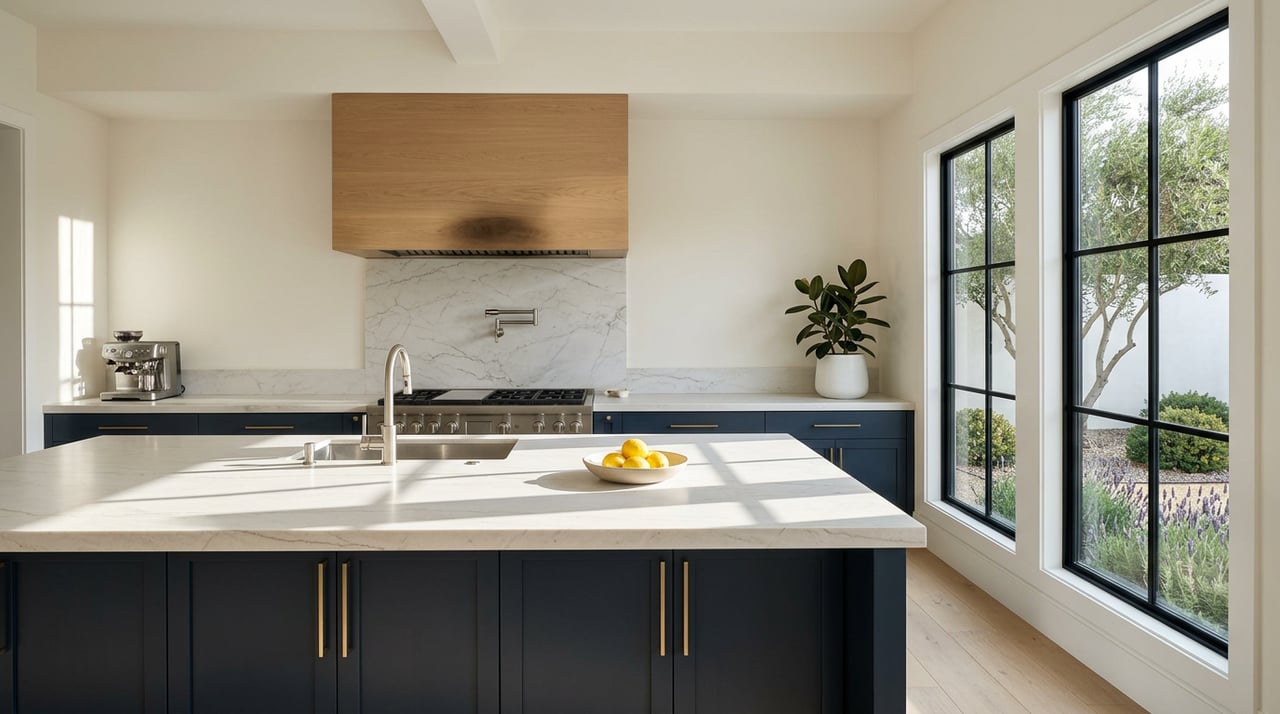
Kitchen
- Clear counters to one or two styled items, such as a cutting board or fruit bowl.
- Remove magnets and papers from the refrigerator.
- Deep-clean appliances, backsplash, sink, and grout until they sparkle.
- Update cabinet hardware and outlet covers for a quick refresh.
- If needed and in budget, consider painting dated cabinets in a neutral tone.
- Tidy the pantry and inside cabinets so storage looks generous.
Dining area
- If space is tight, downsize the table to show comfortable circulation.
- Set a simple table for photos with neutral place settings and one centerpiece.
- Clean the light fixture and use consistent bulb color temperature.
Primary bedroom
- Make the bed like a hotel: fitted sheet, duvet, 2 to 3 pillows, and a simple throw.
- Keep bedding neutral with one subtle accent color for warmth.
- Keep nightstands minimal: a lamp and one small decor item.
- Declutter closets and space out hangers to suggest ample storage.
Secondary bedrooms and flex spaces
- Stage one room as a home office with a desk, chair, and simple styling.
- Keep other bedrooms neutral and lightly furnished.
- Minimize toys or highly personal items to appeal to a wide buyer pool.
Bathrooms
- Deep-clean tile, grout, mirrors, and fixtures.
- Swap in fresh neutral towels and a clean shower curtain or gleaming glass.
- Re-caulk where needed and replace stained liners.
- Add one small plant or soap dish to suggest a spa-like feel.
Stairs and hallways
- Keep pathways clear to highlight flow between levels.
- Repair scuffs and keep wall color consistent across floors.
- Consider a simple runner or small artwork for interest.
Garage and storage
- Clear floors so buyers see parking and usable storage.
- Organize shelves and label boxes neatly.
- Sweep the floor and remove trash or bulky items.
Balcony or patio
- Power-wash surfaces and clean railings.
- Add a compact bistro set and one outdoor rug to extend the living space.
- Use drought-tolerant potted plants for a low-maintenance look.
- Remove pet items and keep privacy screens tidy.
Closets and laundry
- Reduce contents so hangers have space between them.
- Stack towels neatly and hide detergents where possible.
- Wipe appliances and keep surfaces uncluttered.
Multi-level townhome tips
- Ensure stair lighting is bright and consistent for both safety and photos.
- If there’s a landing, consider a small reading chair or mini office to show utility.
- Keep styling cohesive from floor to floor for a smooth visual narrative.
Photo and video strategy that sells
- Hire a real estate photographer if possible. In online-driven markets, standout photos can drive more traffic and stronger offers.
- If using a smartphone, shoot in HDR with a tripod at eye level. Use landscape orientation for room shots.
- Keep bulb color consistent to avoid mixed lighting. Daylight-balanced bulbs often photograph cleanly.
- Time shots by exposure: morning light flatters east-facing rooms, late afternoon flatters west-facing rooms.
- Prioritize images of the main living space, kitchen, primary suite, baths, balcony or patio, and an exterior entry shot.
- Create simple before-and-after comparisons. Match camera position and time of day, and add short captions like: “Replaced heavy drapes with sheers to maximize natural light.”
- Consider virtual staging for vacant homes if budget is limited. Disclose clearly when images are virtually staged and avoid edits that misrepresent condition.
- For 3D tours and video, clear pathways and minimize shiny or cluttered surfaces that distract in motion.
Budget-friendly updates that deliver
Low-cost, DIY (0 to $500)
- Deep clean, declutter, and touch up paint.
- Swap in daylight-balanced LEDs and fresh outlet covers.
- Update cabinet hardware and add new towels, pillows, and a doormat.
- Organize closets and pantry with simple baskets and labels.
Moderate budget ($500 to $2,500)
- Professional photography and cleaning, including carpet or grout steam-cleaning.
- Partial professional staging for key rooms.
- Replace dated light fixtures with modern, economical options.
- Paint a room or refinish cabinets if it will photograph significantly better.
Higher budget (variable)
- Full professional staging for vacant townhomes.
- Avoid major remodels for staging alone unless already planned.
Your practical prep timeline
6+ weeks before listing
- Review HOA rules and obtain approvals for any exterior changes or signage.
- Hire your agent and align on staging goals and budget.
- Walk each room and make a declutter and repair list.
- Get quotes from a painter, cleaner, handyman, and photographer.
- Reserve storage if you’ll be removing larger items.
4 weeks before listing
- Complete repairs and any planned painting.
- Donate or sell items you don’t plan to move.
- Replace dated hardware and select new light fixtures if needed.
- Deep-clean appliances and bathrooms.
2 weeks before listing
- Finalize your staging plan and source any rental furniture or decor.
- Deep clean the home and steam-clean carpets.
- Organize closets, pantry, and cabinets.
3 to 7 days before photos
- Finish staging, install consistent bulbs, and set final decor.
- Schedule photography during the best light for your home.
- Capture your own before-and-after angles for reference.
Day of listing and showings
- Keep the home spotless, bright, and scent-neutral.
- Maintain clear surfaces and remove pets for showings.
- Follow HOA parking and access rules for visitors.
After listing
- Review feedback and adjust staging if needed.
- Refresh decor or reduce furniture if showings point to crowding.
Common pitfalls to avoid
- Overfurnishing small rooms. Prioritize circulation and scale.
- Mixed bulb temperatures that make photos look uneven.
- Heavy drapes that block light.
- Virtual staging without proper disclosure.
- Exterior updates or signage that conflict with HOA rules.
Ready to list with confidence?
If you want a hands-on, design-forward plan tailored to your Campbell townhome, let’s talk staging, photography, and marketing. Reach out to Brianna Ramirez to map your timeline, budget, and a room-by-room plan that helps you stand out online. Get your free home valuation.
FAQs
Does staging increase sale price in Campbell?
- Staged homes often sell faster and attract more buyer interest in online-driven markets, which can support stronger offers, though results vary by property and execution.
Is professional staging required for a townhome sale?
- No. Targeted DIY staging focused on the living room, kitchen, and primary suite, plus professional photos, can be a cost-effective path.
How long should rented staging remain in the home?
- Many staging contracts have a monthly minimum, so coordinate install dates with your listing launch and photography schedule.
What HOA rules could affect my staging or showings?
- CC&Rs may govern exterior changes, signage, parking, and access; review them early so your plans and open houses comply.
What outdoor updates work best in Campbell’s climate?
- Choose low-maintenance, drought-tolerant potted plants, clean hardscapes, and compact seating that photographs well without heavy watering.
Which rooms should I prioritize if I’m on a tight budget?
- Stage the main living area, kitchen, and primary bedroom first, since they anchor buyer perception and dominate listing photos.